


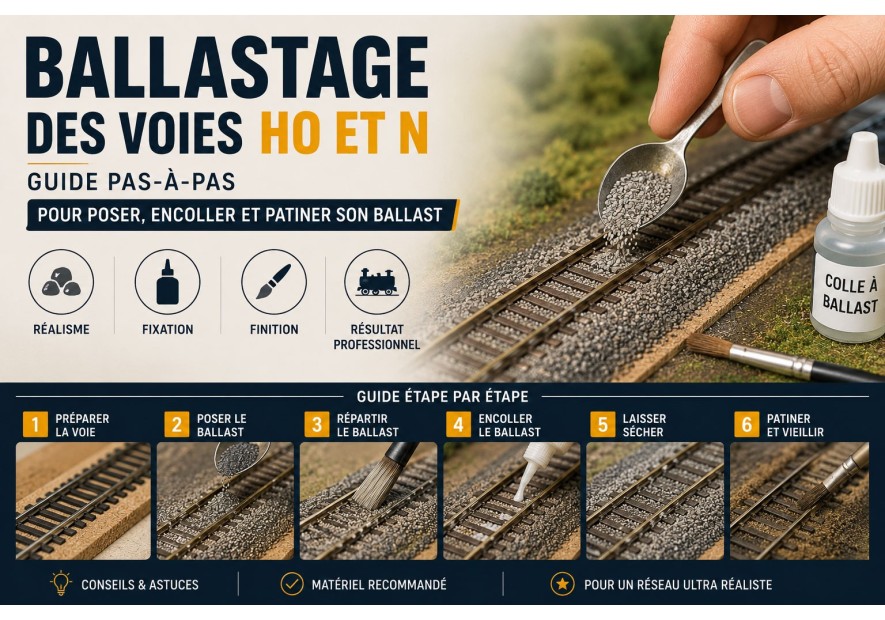
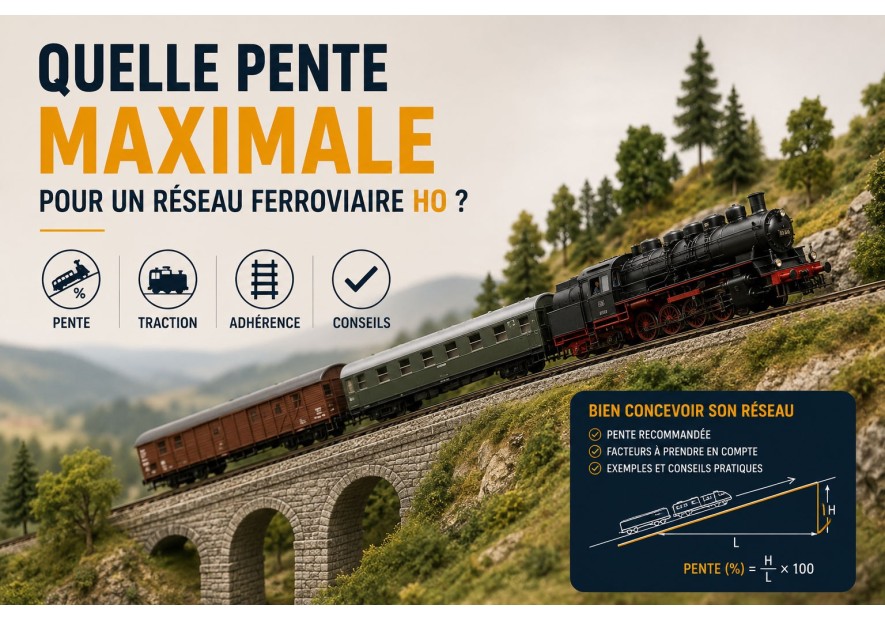
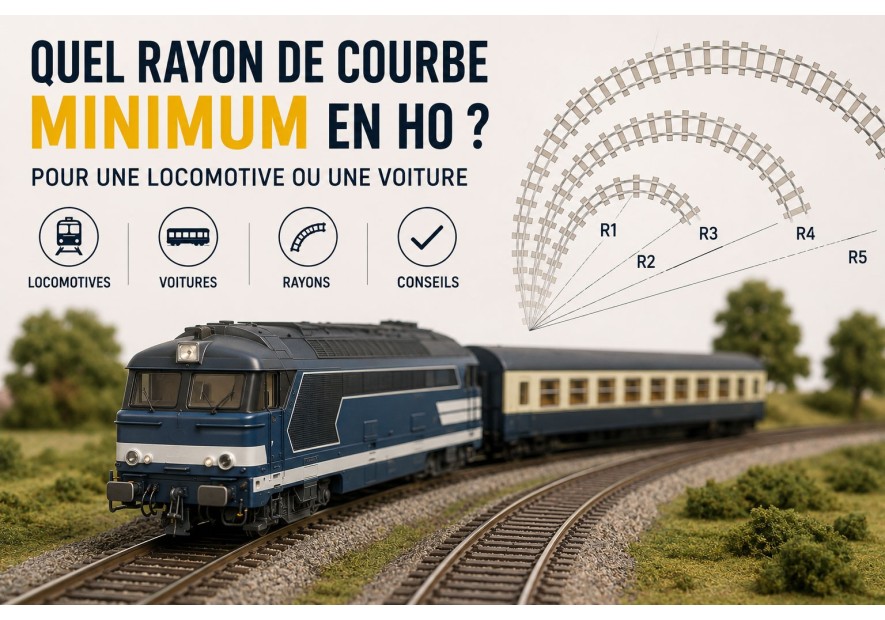
Track Ballasting in HO and N Scale: Step-by-Step Guide to Gluing and Weathering
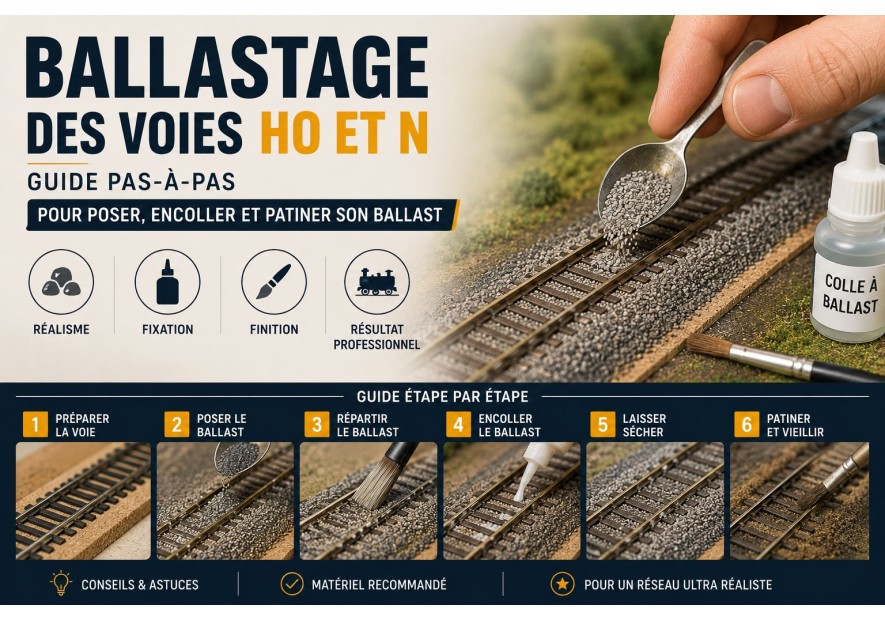
Track ballasting is unquestionably the most rewarding milestone when building a model railway layout. It is the exact moment when bare tracks fixed onto wooden sub-structures come alive and blend seamlessly into the railway scenery. However, poorly laid or improperly glued ballast can cause severe headaches: amplified rolling noise, recurring derailments, or worse, turnout switchblades permanently glued and ruined.
Whether you model in HO scale (1:87) or N scale (1:160), discover our proven step-by-step method to master dry placement, capillary glue application, turnout protection, and realistic track weathering.
1. Choosing the Right Ballast: Grain Size and Color Blends
The primary factor in achieving realistic trackwork is grain scale. Oversized ballast looks like rubble, while overly fine grain resembles beach sand:
- HO Scale (1:87): choose a ballast grain size between 0.5 mm and 1.0 mm.
- N Scale (1:160): select fine micro-ballast between 0.2 mm and 0.5 mm.
- Colors and Blends: brand-new prototype ballast exhibits a crisp granite grey, while lines in service for several years shift toward dark grey weathered with rusty brake dust and soot. Mix two complementary shades from our range of model train ballast and sand for natural, lifelike tonal variation.
2. Essential Equipment for Stress-Free Ballasting
Before spreading the first grain, gather your supplies and model railway tools and accessories:
- Scale-appropriate ballast (HO or N scale).
- Soft flat paintbrush (No. 10 to 14): gently spreads and shapes ballast without scratching rails or dislodging ties.
- Dedicated ballast glue: use a purpose-formulated adhesive such as Faller 180501 Flocking and Ballast Adhesive (dries completely matte, transparent, and maintains acoustic flexibility) or a standard 50/50 PVA white wood glue mix.
- Wetting agent: distilled water with a few drops of liquid dish soap or 70% isopropyl alcohol (breaks water surface tension instantly).
- Fine mist spray bottle: moistens the ballast bed without blowing loose grains away.
- Precision dropper pipette or medical syringe: allows accurate, drop-by-drop glue application.
3. Step 1: Track Bed Preparation
Before pouring any ballast, ensure that:
- Your model train tracks and turnouts are securely fastened and aligned on their cork or acoustic foam roadbed.
- All electrical continuity and test runs with your most demanding locomotives and passenger cars have been thoroughly validated.
- Rails and tie plates are free of sawdust, wood chips, or stray construction adhesive.
To review core layout construction fundamentals, read our guides on how to build your first model train layout and minimum HO curve radius recommendations.
4. Step 2: Dry Placement and Shoulder Profiling
Ballast is always spread and shaped completely dry. Never pour glue before the ballast is perfectly sculpted:
- Pour a continuous ridge of dry ballast along the center of the track using a small cup or a ballast spreader box.
- Using your soft flat brush, sweep gently back and forth between the ties to settle the grains evenly.
- Push surplus grains toward the roadbed shoulders to form a neat, natural 45-degree angled ballast shoulder.
- Crucial step: verify that no stray grains remain on top of the ties or against the inside web of the rails where locomotive wheel flanges could derail.
5. Step 3: Capillary Glue Application (The Foolproof Method)
To bond ballast permanently without creating craters or shifting grains, apply the capillary soaking method:
1. The Wetting Mist
Fill your spray bottle with warm water and 2 to 3 drops of dish soap. Spray upward so the fine mist falls gently onto the trackbed until the ballast is completely damp. Spraying directly at the track will scatter dry grains.
2. The Adhesive: Faller 180501 or PVA Mixture
Apply Faller 180501 Ballast Adhesive directly with its fine nozzle, or mix 50% white PVA wood glue, 50% distilled water, and 2 drops of dish soap.
3. Drop-by-Drop Infiltration
Using your pipette or syringe, release droplets of glue along the outer shoulders and between the rails. Thanks to the wetting agent, the glue wicks instantly through the entire ballast bed by capillary action without disturbing a single grain.
Allow the track to dry undisturbed for 24 to 48 full hours. Once fully cured, the bond dries clear and non-reflective.
6. Turnouts and Switchblades: Vital Precautions
Turnout mechanisms require utmost care:
- Protect moving parts: dab a microscopic drop of light oil or petroleum jelly on the switch point pivot points and tie bar before gluing. White glue will not bond to greasy surfaces.
- No liquid glue under the frog or point rails: secure ballast around moving points with carefully placed drops of cyanoacrylate or a barely damp paintbrush with thick glue.
- Manually cycle the turnout blades back and forth every 10 minutes during the first hour of drying to ensure silky-smooth movement.
7. Step 4: Weathering for Maximum Realism
Once the ballast is fully dry and cured, fresh trackwork can look unrealistically uniform. To recreate the authentic look of an active railway line:
- Rail Web Rusting: paint rail sides with a matte rust enamel or acrylic paint from our model railway paints selection.
- Center-Track Grease Stains: wash dark grey/brown thinned wash along the center of the track to mimic locomotive engine oil drippings and wheel grease.
- Dust and Trackside Vegetation: dust earth pigments along the ballast shoulders and add grass tufts from our flocculation fibers and scenic flock range, along with scenery construction materials.
Conclusion and Final Rail Cleaning
Once all weathering washes and pigments are dry, run an abrasive rail-cleaning block (such as Roco or Peco) across the rail tops to expose clean bare metal for flawless electrical contact. Your track is now visually stunning, whisper-quiet, and ready for reliable operational running!
